Tuesday, June 21, 2011

Birthday Card

Hi Everyone!  Today I'm posting a birthday card I made for my daughter using my Cricut Imagine.  This was the first project I did using my new machine!  I just love it!  :o)


Using my Cricut Imagine and my Imagine More cartridge, I cut the card out using the layers feature and print/cut each layer out four times, and then twice using the cut only option with plain white cardstock. I chose different patterned papers for each layer.  For the card front, I cut away the leaves and ran the red layer of the flower through my Big Kick using the Regal Flourishes Sizzix embossing folder.  Then I embossed the leaves separately using my Herringbone Cuddlebug folder.  


I inked all of the edges of each layer using various colors from my Ranger/Tim Holtz Distress Inks and then began adhering the layers together over top of the plain white flower, front and back.  


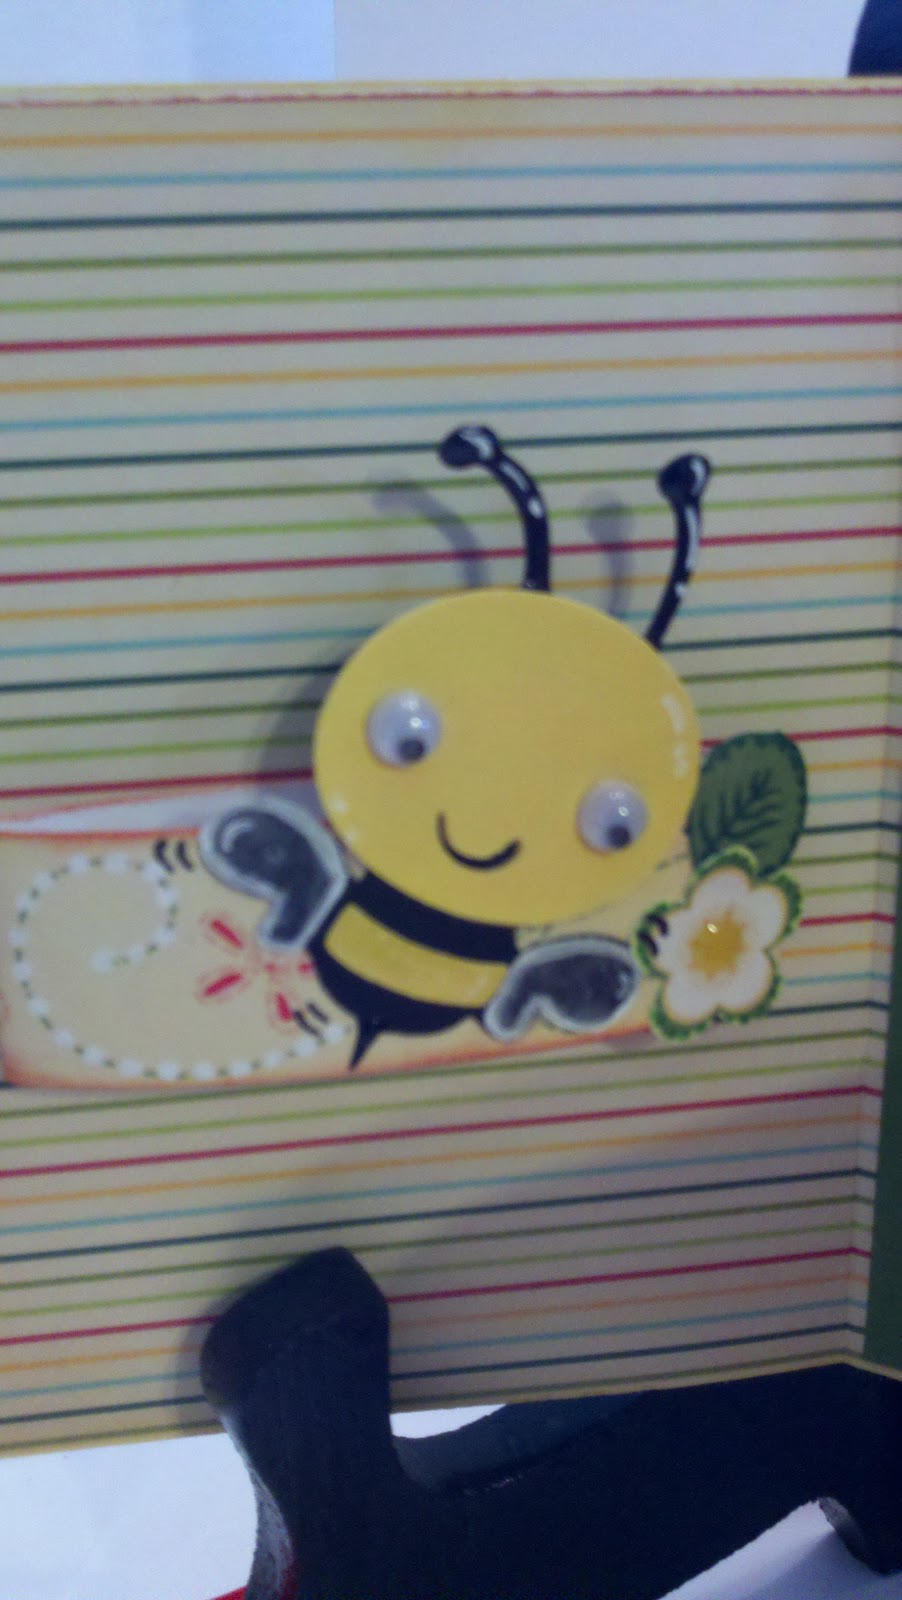
On the inside I adhered the red layer and, since I planned to insert a gift card, I cut a small envelope with my Cricut, inked all the edges, and adhered it to the inside panel.


Before adhering the flower center to the inside panel, I stamped the sentiment using Clear Art Stamps by Crafty Secrets, Glamour Girls from the Heartwarming Vintage Collection.  


I decided to add the image of the girl (it reminded me of my daughter) by stamping it onto a piece of vellum and coloring it in with my regular Sharpie markers, shading from the back.  Then I cut the image out and adhered it with mini glue dots in opaque places of the image where the dots wouldn't show.  Isn't she the cutest?!?  :o)


To hinge the card together, I scored the edge of the card front only, secured it to the back using my ATG gun, and punched a hole.  I used a blingy brad from my stash which I pushed through two inked flowers and secured it to the card.


For the back of the card I simply inked the edges and then added my business stamp.  Later I covered the stems from the brad, but I forgot to take a photo of that--sorry!  :o}


I always dress up my business stamp to match the card and this time I added a little birdie I cut with my Martha Stewart punch.  Isn't it cute?  


Call me a perfectionist, but I can never send out a card in a plain white envelope, lol!  This one I cut from scratch using the darling polka dot cardstock from DCWV, Nana's Nursery stack.  I thought it coordinated just great and added that little bit extra to the ensemble.  I added my last flower layers to the front of the envelope using my Xyron machine--it glues things permanently so I don't have to worry about anything falling off once it goes through the post office.  The flower center was a simple circle cut from a Meade lined paper pad--it worked better for the address.  I hand wrote "Happy Birthday" all around the circle.


The back of the envelope had to be special, too!  I added another cut circle, a return address label, and adorned it with little flowers cut with my paper punch.  I then added a kitty-cat (my granddaughters are crazy about kitties, lol!) that I cut with the same cartridge.


That's it--the birthday card is complete and ready to be dropped in the mail.  I hope you enjoyed today's post!  


Have a great day!


Merilee


Recipe Ingredients:  Patterned Paper:  Imagine More Cartridge-Pgs. 38-39, 43-44
Cardstock:  DCWV-Nana's Nursery; Colobok-Textured Cardstock; Vellum-Staples; Lined Paper-Meade
Stamps:  Crafty Secrets Clear Art Stamps-Glamour Girls, Heartwarming Vintage Collection
Embellishments:  Blingy Brad-my stash; Flowers-my stash
Ink:  Ranger/Tim Holtz Distress Ink-Various Colors
Tools:  Cricut Imagine; Cricut Imagine Cartridge-Imagine More-Grateful Flower-Pg. 16, Kitty-Cat-Pg. 11, Envelope-Bonus Content-Pg. 29; Big Kick; Sizzix/Tim Holtz Embossing Folder-Regal Flourishes; Cuddlebug Embossing Folder-Herringbone; Bird Punch-Martha Stewart; Flower Punch-The Paper Studio; ATG gun; Xyron machine

Monday, June 20, 2011

Vintage 50th Birthday Card

Hi Everyone!  Today's vintage 50th birthday card was so much fun to make!


This card is both a card and an envelope all in one.  I chose this card style because it was reminiscent of the old photo albums in which my parents used to receive their photos after developing.  I couldn't resist its retro feel, which was in my mind when I began this process.


The card was cut using my Cricut Expression and my trusty Wild Card cartridge (Scallop-page 32).  It isn't really meant to be a card and envelope all in one since it is featured in the manual with a matching envelope, but I loved it just the way it was!  I printed it in yellow cardstock, inked the edges with Tim Holtz/Ranger Ink in Fired Brick, and then covered select areas with these darling papers from Cosmo Cricket's Double Deck - Material Girl and Garden Variety.  I just love, love, love these papers!


To close the card, I used my Crop a Dile to punch two holes and set my eyelets.  I then ran the red satin ribbon through the eyelets and slipped on the tiny tag that I cut using my tag die plate and Crop a Dile III Main Squeeze.  I inked the edges and then I made my own dimensional numbers with my Cricut and my bottle of Glossy Accents (I just love that stuff!).  Once I finished, I decided to attach pretty daisies to the ribbon ends to keep the ribbon from slipping out and from fraying.  I punched four of the daisies with my daisy punch, ran them through my Xyron machine, and attached them back-to-back with the ribbon sandwiched in between.  I added flower centers on both sides from my stash of colored dimensional epoxy stickers.  Didn't they turn out so cute?!?  


(I also used the dimensional epoxy stickers in the centers of the flowers on the designer paper.)


For the feature on the middle panel inside, I cut a darling image from the Crafty Secrets Heartwarming Vintage Collection of Creative Scraps.  It was a great freebie when I ordered stamps from the same collection!  :o)  It so reminded me of my Mom, Aunts and Grandmother.  


I chose a coordinating paper from my Double Deck and lined the inside panels.  Then I chose a bright yellow cardstock for the feature panel and typeset a sentiment in my word processing program.  I printed the sentiment in green and then added pretty gem brads to adorn the upper corners with a little added bling.  After inking the edges, the image was matted on another coordinating cardstock from the Double Deck.  However, before mounting the image (and so my stems didn't stick out the back of the card) I added little green flower brads in each corner and then mounted the image under my sentiment inside the card.


I decided to add a gift card to the inside left panel, so estimated the size I'd need and I cut a strip of cardstock wide enough to accommodate my folder.  I then folded it in thirds and, with the open ends in the back, I adhered it to the card. To adorn the band, I took my cues from the darling cardstock I've been using and cut a bumble bee image with my Cricut using the really cute Create a Critter cartridge.  I used my white gel pen to detail the little bumble bee, filled in his wings with Glossy Accents, added tiny wiggle eyes from my stash, and attached him to the band.  I then cut a flower and leaf from the designer paper and added it to the band, as well.


I cut a small folder with my Cricut from my Tags, Bags, Boxes and More cartridge and rounded the corners using my Crop a Dile Corner Chomper.  Then I inked the edges.  Once again I cut some strawberries, flowers and leaves from the designer paper to adorn the outside and used my markers and Glossy Accents to add dimension.  (It would have been cute to use my Cricut to cut the fruit and flowers, too.)  The flower centers are accented with dimensional epoxy stickers.  


For the inside flap I used the same yellow cardstock as above, inking the edges and stamping "Happy Birthday" using Fired Brick Ranger ink.  The sentiment is from a darling stamp set from Crafty Secrets' Clear Art Stamps, the Heartwarming Vintage Collection.  I also added another strawberry cut from the designer paper and a couple more leaves.


Once inside the folder you can see the cute papers which inspired the strawberry and bumble bee motifs!  Isn't this the cutest paper ever?!?


I like lots of interaction, so I made yet another band inside to hold a small envelope.  The band was made in the same way as before and decorated with more cut images from the designer paper.  The envelope was cut from printed vellum using my Cricut and the Tags, Bags, Boxes and More cartridge.  I rounded the edges to match the folder and inked them with the same color Ranger ink.


This project was so much fun and I really enjoyed giving to my sister-in-law!  :o)


Thanks for stopping by and have a great day!  :o)

Merilee

Recipe Ingredients: Papers:  Cosmo Cricket Double Deck-Material Girl and Garden Variety; The Paper Studio-Textured Cardstock; Printed Vellum
Designer Image:  Crafty Secrets Creative Scraps-Heartwarming Vintage
Embellishments:  Dimensional Epoxy Stickers-Recollections; Red Satin Ribbon-Offray
Stamps:  Happy Birthday Sentiment-Clear Art Stamps, Crafty Secrets-Heartwarming Vintage Collection
Ink:  Ranger/Tim Holtz Distress Ink-Fired Brick
Tools:  Cricut Expression; Cricut Cartridges-Wild Card (Scallop, Pg. 32), Create a Critter (Bee, Pg. 68), Tags, Bags, Boxes and More; Crop-A-Dile Corner Chomper; Crop-A-Dile II; Crop-A-Dile III Main Squeeze (Die Plate Tag); The Paper Studio Flower Punch; Xyron Sticker Maker

Thursday, June 16, 2011

Wedding Invitations

Hi everyone!  I've been hard at work trying to get my most recent project finished--wedding invitations for a small wedding.  I have thoroughly enjoyed this entire project, although it is quite time consuming to do wedding invitations, lol!  :o}


I wanted to share a wonderful technique that I found on one of my favorite blog spots, Little Birdie Secrets (www.littlebirdiesecrets.blogspot.com).  What a wealth of information I have had since I subscribed to this blog!  I just love it!  The particular tutorial used in this application is the "Napkin Card Tutorial" (No. 48 under "Favorite Tutorials").  It was the answer to my prayers.  Let me start from the beginning...


It was during my last card making class that my story takes place.  One of my students brought along a guest.  She was a young, darling bride to whom I was instantly drawn.  During the course of our conversation, I found she was interested in learning ideas for her wedding, namely wedding invitations. She was on a strict budget and planned to make most everything herself.  She brought with her a wedding invitation kit she found on clearance at a craft store.  She said the colors were all wrong, but she was going to use them anyway when my student encouraged her to wait, come along to my class, and speak to me to see if there wasn't some way to make these invitations more personal and professional.

I spoke to her briefly before class to get to know her, find out the colors of her wedding and what she had in mind, as well as her budget for invitations (which I knew was quite limited).  She was the sweetest young bride and I just knew I had to find a way to help her as best I could.  After all, every bride deserves a beautiful wedding and that begins with the invitations, right?  After class, I thought it over long and hard.  My husband and I discussed how sweet this young lady truly was--she was warm and kind and so very naive--her naivety reminded me of myself when I got married (a million years ago, lol!).  We both agreed that we had to do something to help her, so I decided to take on the job.  

That night as I lay in bed, my mind was reeling with ideas.  I remembered her sweet face, the style of her clothing, her demeanor, and began to put a design together in my mind.  Of course, once my mind gets going, there is no stopping it.  Let's just say that sleep was a fleeting thought, lol!  My main concern was how to do this job utilizing as much of the invitation kit the bride had left with me, while keeping my expenses to a minimum.  I worried about covering and/or replacing the kit cardstock with pretty paper and what an expense that could end up to be.

The next morning I awoke on a mission.  Still in my p.j.'s, I grabbed my cup of coffee and turned on my computer to check my email.  I thought surely I'd find some ideas from the various blogs to which I subscribe.  I scanned my email and, to my surprise, there was an email from Little Birdie Secrets with a napkin card tutorial!  I was completely intrigued, read through the entire email and then headed out to the blog to see if I could find even more information.  I knew immediately my prayers had been answered and it wasn't long before I was dressed and ready to shop at our local party supply store for the perfect napkins.

Instead of buying sheets and sheets of pricey decorator paper, I purchased two packages of black and white damask dinner napkins at the party supply store.  I hurried home to begin this new technique--I couldn't wait to try it!  I gently peeled apart the layers of napkin and used my hot, dry iron to apply them to my white cardstock, using the plastic cling wrap the tutorial prescribed.  The process couldn't have been easier--I was surprised!  I instantly knew this was the answer to my dilemma!  The result was stunning.  It actually felt like fabric to the touch and lent an expensive, sophisticated air to the project.  


used this new technique for the damask background on the invitations and was able to get three invitations from each napkin.  I then used my Big Kick to emboss silver metallic cardstock that I matted on black cardstock and placed on top of the damask background.  

The next step was to typeset the invitation.  I used my computer program, choosing pretty fonts and printed it on vellum paper.  I embossed a line 1/4 inch from each edge all the way around, added black sparkly scroll Glitter Tape at the bottom edge, and placed the vellum overlay on the white cardstock from the original invitation kit, using glue dots in the upper corners only.  

The monogram.  I used my Cricut machine and Storybook cartridge to cut the plaque with its frame (Marque1 and frame), as well as the monogram (Fancy letters).  After gluing the frame to the plaque, I cut the initials of the bride and groom's first names from charcoal metallic cardstock and glued them flush to the plaque.  I then adjusted my size larger on the Cricut machine, cut the first initial of the groom's last name from silver sparkle cardstock, and popped it up in the center of the plaque with pop dots.  The monogram plaque was then placed atop white satin embossed ribbon from my own stash.  I found a few rolls leftover from sewing my niece's baptism gown many years ago. Everything came together just perfectly!  


For the response cards, I was again able to use the white cardstock from the kit, mounting it atop black cardstock


The bride and groom came this past Sunday morning to see their invitations for the first time.  They were so surprised and excited, smiling from ear to ear.  With tears in her eyes, the bride hugged me tight and whispered, "You will never know just how appreciative I truly am!".  But just the look on their faces was thanks enough--my heart was warmed by their joy.

In the end, I would like to give a hearty thanks to Little Birdie Secrets for sharing so many wonderful ideas.  I will definitely use this method again.  It was well worthwhile!

Thanks for stopping by!
Merilee

Recipe Ingredients:  Papers:  Metallic Silver, Charcoal - Recollections; Silver Sparkle - DCWV The Glitter Cardstock Matstack; White - Bride's Wedding Collection Invitation Kit; Vellum - Staples
Napkins:  1hr Ideal Home Range - Grandeur White Black
Embellishments:  Glitter Tape - Recollections; White Satin Embossed Ribbon - Walmart Bridal Ribbon Selections
Tools:  Cricut Expression; Storybook Cricut Cartridge; Big Kick; Embossing Folder - Sizzix/Tim Holz - Damask; Corner Punch - EK Success; Martha Stewart Crafts - Scoreboard; Merilee Lane Personalized Stamp - PSA Essentials