Showing posts with label Crisscross Card. Show all posts

Monday, January 16, 2012

Another Criss Cross Card!

Hi Everyone!  I'm back today with another quick criss cross card.  These are so easy to create and, depending upon the papers you choose, you can make quite an impact.


The papers used for this card are from the Mariposa Paper Stack by Die Cuts With a View.  Aren't they beautiful?  I just love the colors!  I chose this pretty shade of green for the card base and matted everything in this coordinating blue.  All of these colors compliment one another so beautifully, don't you think?  Both shades of solid cardstock are from Micheal's Recollections line.
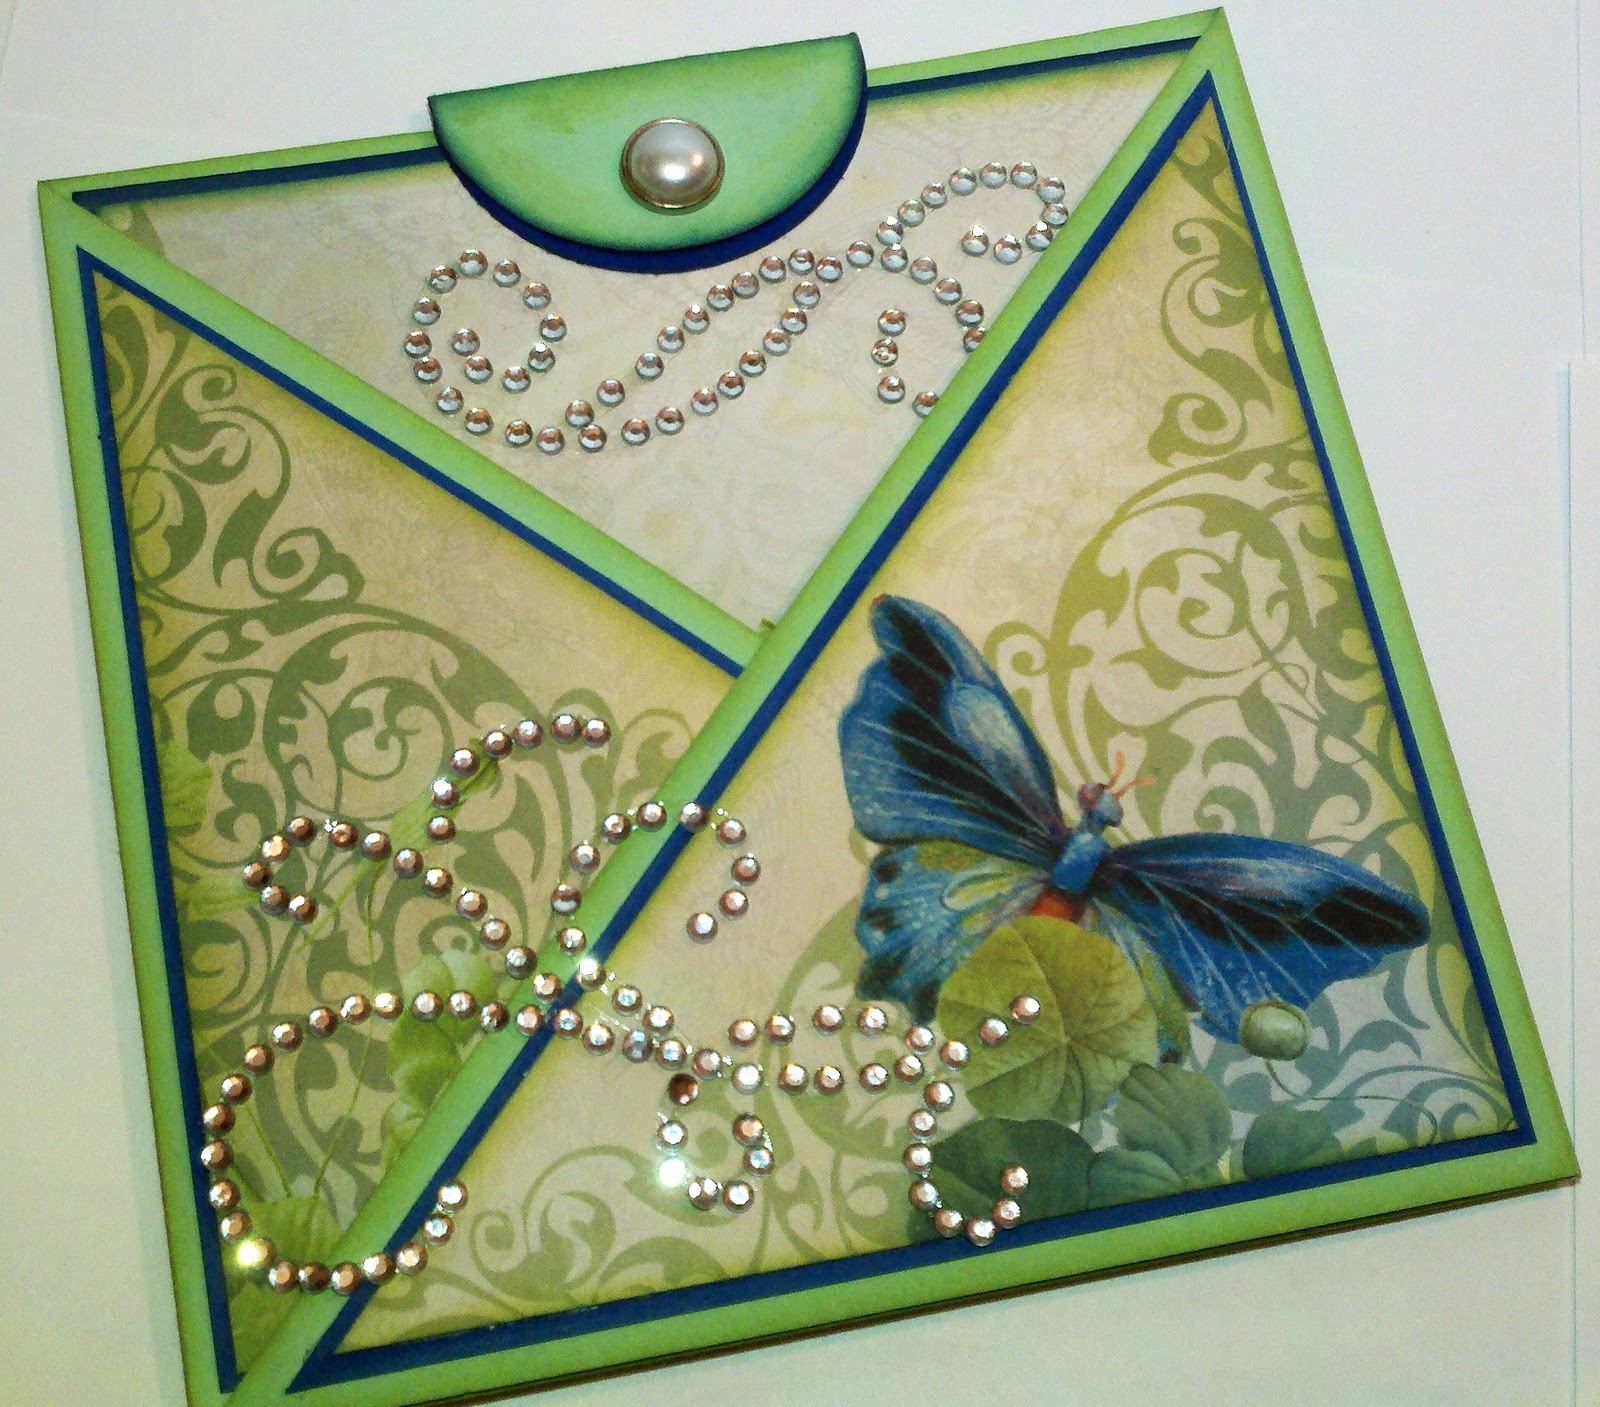

In case you missed my last one, the criss cross card consists of a criss crossed envelope with a postcard style insert.  I used a bit of bling to show the butterfly in flight, but chose to stay with clear rhinestones since the colors in the various papers are so soft and beautiful.


Once the card is removed from the envelope, you really begin to see this beautiful patterned paper.  I just love how the colors pop from the page, yet the images are soft and pretty.  


The sentiment is from the Marcella Howley Collection by Flourishes and came in an Easter pack; however, I thought this sentiment was perfect for a sympathy card, as well.  Again, I stayed with clear rhinestones since the paper is so lovely.  It really didn't need anything further to set it off.


As always, the back of the card should be just as pretty as the front, so a bit more bling and a tiny butterfly to go along with my business stamp.


This card was actually made using one 12 x 12 sheet of paper.  A different pattern was in each corner of the sheet, so I cut the paper in sections, using each different corner as a feature in various places on my card and envelope.  It's amazing how far one 12 x 12 sheet of paper can actually go, so don't be afraid to buy the larger paper packs for your cards.  The images are larger and really do make quite a statement.


I just love the colors in this card.  The blues and greens are so soothing and the papers in this collection are so beautiful.  I will definitely use this paper stack again!

Have a wonderful day and thank you so much for stopping buy!  I'll be back soon with another creation to share with you!

Merilee

Monday, January 9, 2012

Crisssross Cards--So Fun and Easy to Make!

Hello Readers!  I hope this Monday is the beginning of a wonderful week for you!  Today I have a fun and super easy crisscross card to show you.  You can find a tutorial for this card on www.splitcoaststampers.com.

My niece was celebrating her birthday so I made this card especially for her.  The colors and patterns are a great reflection of the fun loving, girlie-girl she is!  


Today's post features The Street Lace Stack, a darling paper stack by Die Cuts With a View.  I was lucky enough to find this paper stack in the clearance section of my favorite Michaels store and I loved the paper so much that I bought three paper pads!

As you can see below, the card itself is a crisscrossing pocket envelope with a post card style pullout card inside.


The envelope couldn't be easier to make!  I used gray cardstock for the base, followed by hot pink cardstock cut just inside each flap, topped by the lacy patterned cardstock.  The center medallion was made by fussy-cutting one of the flowers from the patterned cardstock and matting it on top of hot pink cardstock cut to the same shape, but slightly larger.  I used my Martha Stewart scalloped circle for the flower center, topped with an extra large, hot pink brad. Since the paper was so fancy, I just had to fancy up that brad by placing some bling over top.  However, I only had large, clear rhinestones, so I used my markers to match the hot pink on the card and...voila, instant matching bling!


I also placed smaller rhinestones along the edges of the flower for a little added pizazz!  After all, this girlie-girl card was for my girlie-girl niece, lol!  Nothing short of spectacular would do!


For the inside card, the base was cut from hot pink cardstock, covered with this darling lacy extravaganza.  Once again, I fussy cut a large flower and matted it in hot pink to add in the lower right-hand corner.  As you can see, it has plenty of bling, too!


For the tab on top I used my Martha Stewart scalloped punch and layered that atop a punched half circle.  I then secured it all with a black rhinestone brad.  The stamped sentiment is from Crafty Secrets Glamour Girls large stamp set.  Nothing less than glamorous would do for this card!


I always try to match the theme of the card when adding my business stamp, so I stamped a piece of the lacy cardstock with my business stamp, punched out the circle and finished the edges with my fancy scissors.  I then cut a larger circle from hot pink cardstock, once again finished the edges with my scissors, matted the business stamp on top and polished it off with one tiny pink rhinestone.


Even though this card has it's own envelope, it cannot be mailed as it is.  So I made an envelope to match the card.


The envelope was standard white, on which I added a black background and fussy-cut some of the edge of this beautiful patterned cardstock.  I then added a piece of gray cardstock for the label, again matted in hot pink.  I always use my Xyron machine to secure paper to the outside of any envelope.  That way I can be sure nothing will be torn or ripped while in transit with the postal service.

I saw my niece over the holidays and she told me how much she loved her birthday card.  That, in and of itself, makes all the work involved well worthwhile!  After all, this is what I live for--adding a little happiness to someones day!

Thanks for visiting today and I hope to see you again soon!

Merilee