My summer was wonderful. I was able to spend so much time with my grandchildren, my daughter and son-in-law, and my husband. We even found a little extra time to take a short vacation with my brother and sister-in-law to visit Seattle, Vancouver, B.C. and Victoria, B.C.! It was wonderful and we really enjoyed ourselves.
Now that I'm back to blogging, I have so many projects to post that were made during my absence. I will probably make more than one post each day to try to catch up. Thanks for being patient with me!
Now on to my post for the day. I recently held my September card making class and wanted to post the cards that were made during class. I couldn't have been happier with the results, and my students, Stephani and Susan, really showed their talent in these adorable cards!
First of all, the idea for these cards was inspired by Glora's Crafts at glorascrafts.blogspot.com. Although my design is slightly different than Glora's, you can see a tutorial on how to make these cards by following this link: http://glorascrafts.blogspot.com/search/label/CC%3A%20Wild%20Card. Just as Glora did, we used the pinwheel card base on the Wild Card Cricut Cartridge. We also used the Paper Doll Dress Up Cartridge for the characters and Peachy Keen Stamps for the faces. They really are the cutest faces ever!
The cards were surprisingly easy to make and oh so cute! Below are photos of the finished cards. I've included several photos to show you, since each card has four different faces as you turn the dial. Enjoy!
First is Susan's card featuring Superman! Isn't he adorable?!?

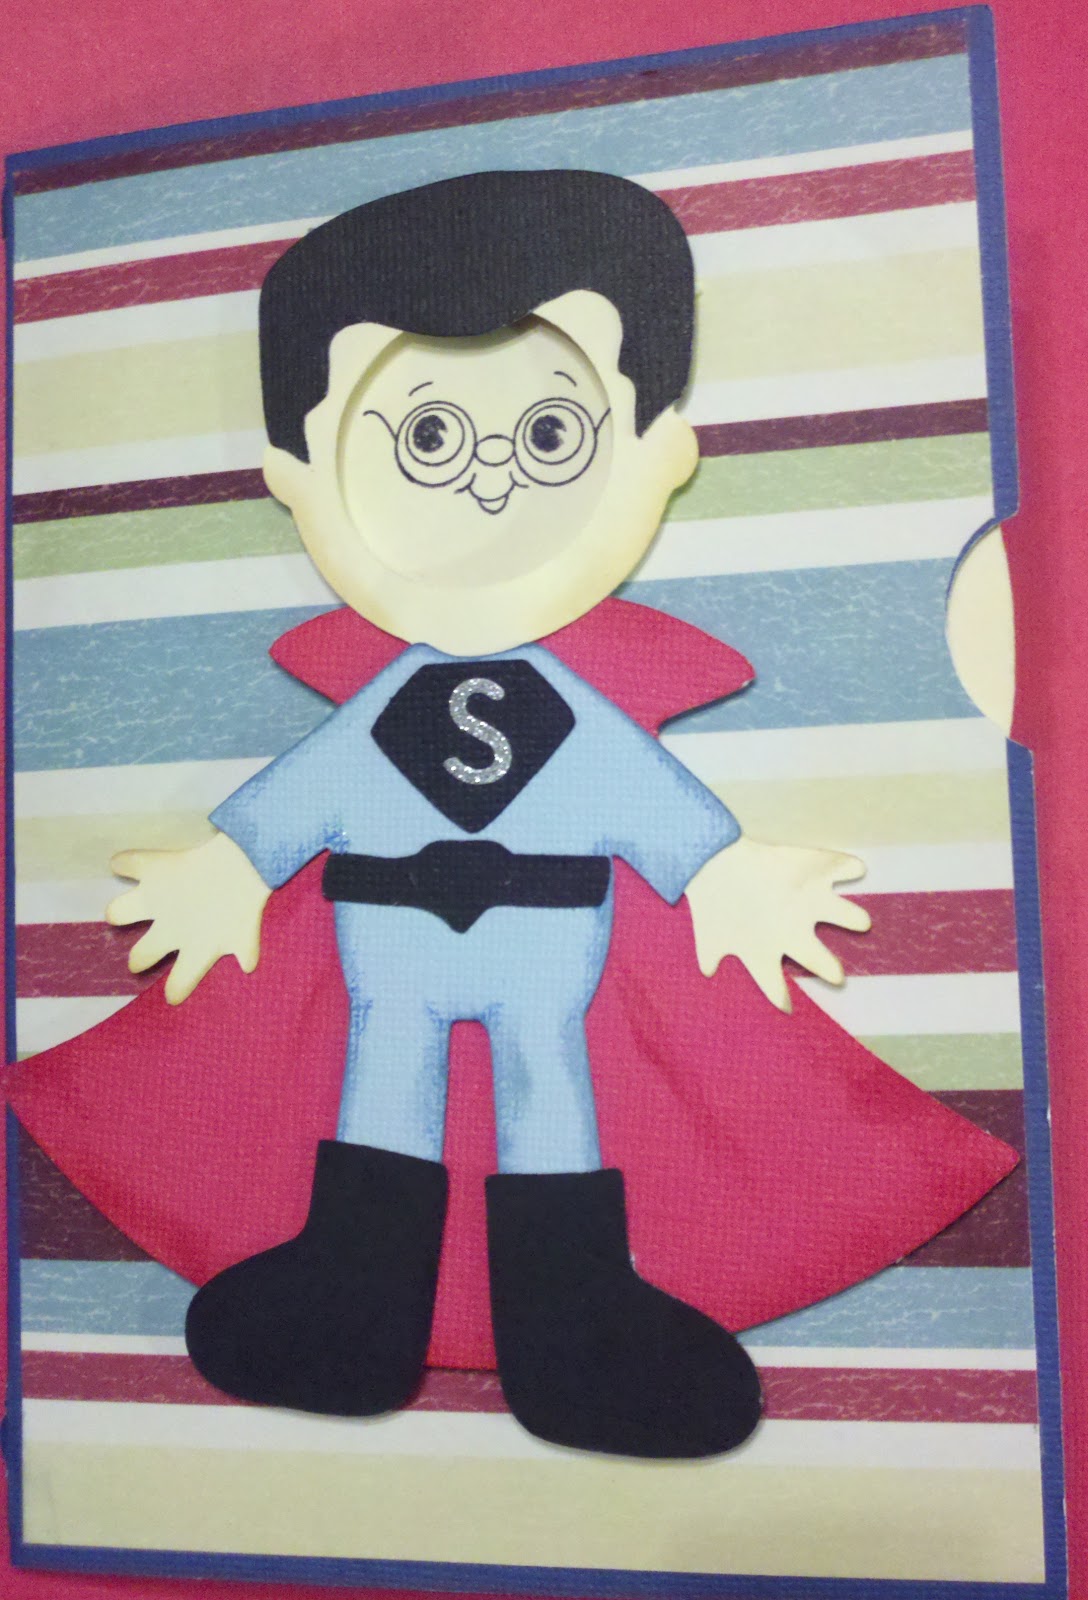


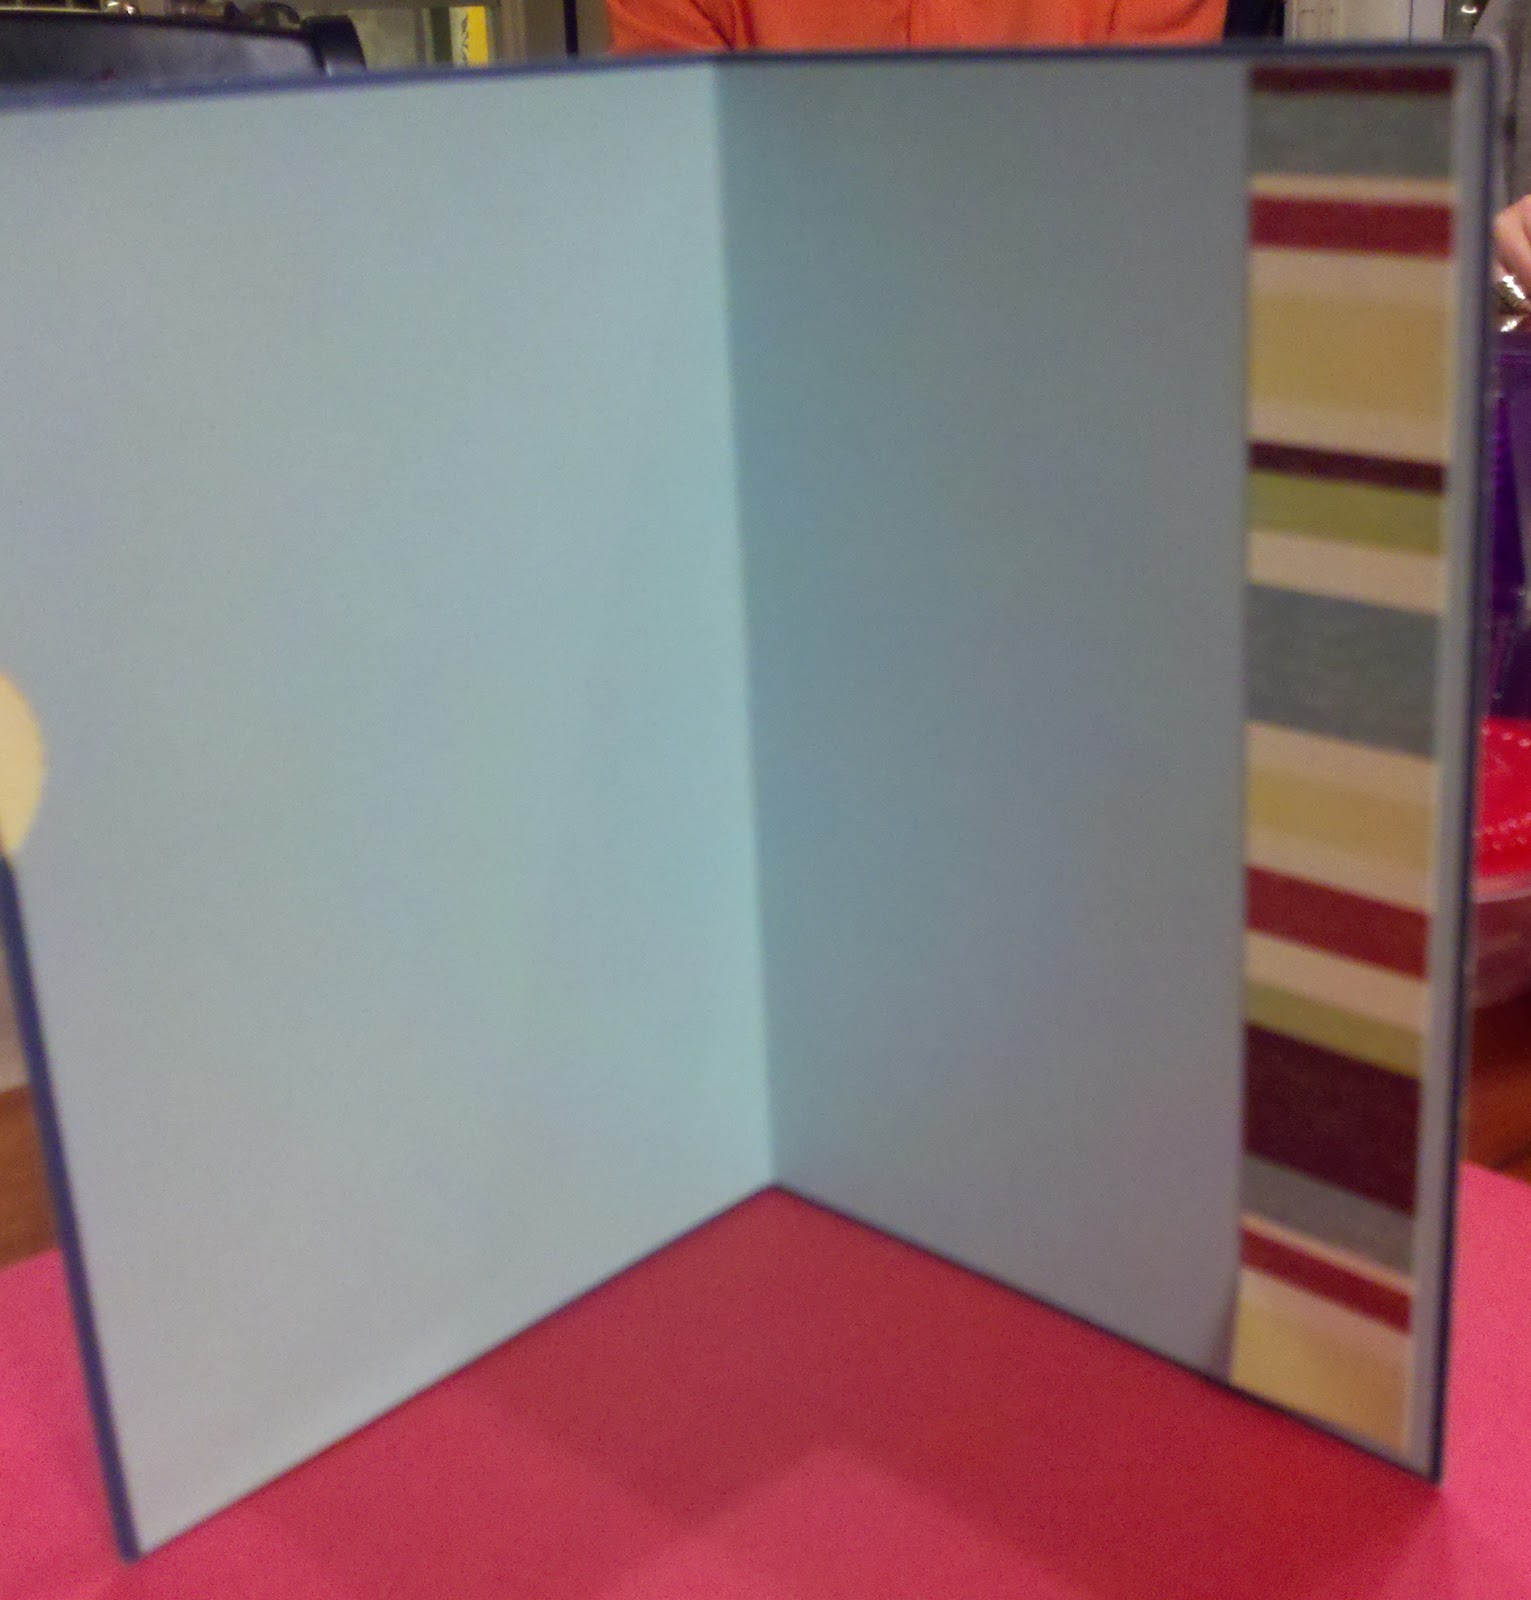
Susan created this Superman card using patterned papers from the Family Page Kit by Colorbok, and solid papers from the Textured Cardstock-Brights collection by The Paper Studio. The sparkly "S" Susan chose from the Mini Shimmer Alpha sticker collection by Making Memories. Susan lined the inside of her card with the same light blue used for Superman's costume and added a strip of patterned paper to finish it off.
Next up, Frankenstein!


We thought Frankenstein turned out adorable! Stephani chose patterned papers from the Fostering Creativity Biggie Bundle by Karen Foster. She also flocked his little orange patch, as well as featured a Clear Charm from Tim Holtz Ideology Fragments, with a jack-o-lantern cropped from the patterned paper. Stephani glued it to the backside with the Zyron Create-A-Sticker.


As you can see, both ladies popped up their little characters using foam tape in order to offset the character from the brad underneath, which holds the spinning wheel to the underside of the card. The foam tape lifted the character from the card base just enough to keep it from having a lump where the brad was placed. It also gave the card just the right amount of dimension.
Well, that's it for today! Thank you for visiting my blog!
Merilee
Recipe:
Papers: Family Page Kit by Colorbok; Textured Cardstock-Brights collection by The Paper Studio; Fostering Creativity Biggie Bundle by Karen Foster
Cricut Cartridges: Wild Card, Pinwheel-Pg. 51; Paper Doll Dress Up, Body-Pg. 29, Superboy-Pg. 56, Frankenson-Pg. 52; Plantin SchoolBook, Circle-Pg. 72
Stamps: Fun Kiddie Face Assortment and Critter Faces Set A-Medium, both by Peachy Keen Stamps
Ink: Craft Smart Dye Based-Black; StazOn-Jet Black; Martha Stewart Create Pigment Ink-Aquarium; Tim Holtz Distress Ink-Old Paper, Fired Brick, Stormy Sky
Glue: Xyron Create a Sticker "X" and 5"; Foam Tape by 3M; Be Creative Tape-3mm; Zig 2-Way Glue
Other: Kimberly Watercolor Pencils by General's; Tim Holtz Ideology Fragments-Clear Charms; Michael's Dollar Bin-Flocking; Mini Shimmer Alpha sticker collection by Making Memories
No comments:
Post a Comment