Showing posts with label Wild Card Cartridge. Show all posts

Sunday, January 15, 2012

Masculine 60th Birthday Card

Hi Everyone!  Hope your Sunday has been relaxing and enjoyable.

Today I'd like to share a masculine card made for a 60th birthday celebration.  I made this card using my Cricut Expression and the Wild Card cartridge.  This cartridge has so many fun little cards to make!


For this card I used a craft card base.  If you look closely, you will see that this image appears as though it has a torn edge.  I really liked this edge and took it one step further with my inks to create an edge that appeared to be burned.  


I used the card feature on Page 66 to create this masculine card.  The fish were cut and sketched in with my pencils to add detail.  I then used chalks to add shading and highlights.  The cattails were cut from a sheet of cork for added texture.  I held my breath when I put that cork in my machine, but it cut just perfect!  I used twine from which to hang the fish.


The inside of the card features the window "casing", as well as a pocket holding two stamped tags.  The sentiment stamps used for this card are from Hero Arts, CL148.


The pocket was stitched with my sewing machine and I added a small button for a little extra detail.


The tags were cut from my Tags, Bags, Boxes and More cartridge and have blue ribbon threaded through and secured with a staple at the top.  I used the sentiment stamps for the "celebrate" tag, but for the "you're 60" tag, I carefully hand wrote the words and numbers, trying to duplicate the same font.  I think I got pretty close, all in all.

I try to coordinate my business stamp with the card's overall scheme.


It is always fun to create matching envelopes.  As long as I can remember, I have always been a stickler for coordinating envelopes, lol!  Long before I had my Cricut, my husband used to lose patience with me in the store when I took extra time to find the perfect envelope to match my card--a plain white one would never do, lol!  

Didn't this envelope turn out cute with the twine stitched across the back flap?  :o)  The front of the card was finished similar to the tags inside, since I knew it wouldn't be mailed.


Well, I hope you enjoyed my card for today!  I'll be back soon with another creation!

Merilee

Wednesday, January 11, 2012

Box Card and Corner Bookmark Gift Set

Hey everyone!  I hope this finds you all well and enjoying your Wednesday.  Things are quiet here--perfect for a blog post, lol!

Today's feature is a box card and corner bookmark gift set.  This card was super easy to make!  I found the instructions on the Splitcoast Stamper site here.  I love this website!  I have found so much great inspiration there!


The card was made according to the tutorial, but the envelope was cut using my Cricut Expression and the Wild Card cartridge.    I used some flower embellishments made from colored vellum.  Using an embossing tool and pad, I added some additional interest to the flowers and topped them with a pretty fabric-covered brad.  


The unique thing about a box card is that it folds flat for mailing, but when the recipient removes the belly band and opens it, the card folds out into the shape of a box.


To create the sentiment, I used my oval die and stamp set from My Favorite Things.  I stamped the sentiment on recycled acetate taken from the blister packaging from a Cricut cartridge.  I always use black Stazon Ink in this instance.  I then ran it through my Big Kick with the oval die.

I decided to pop the sentiment up for a little bit of dimension using very small, flat beads hidden just underneath the stamped border.  You can see them below if you look closely.  I used Glossy Accents to adhere the beads to the acetate.


I wanted to add a gift inside, but the gift had to be small and flat in order to fit properly when folded closed.  What better gift than a corner bookmark!  They are easy to make and very handy to use.  Although mine is slightly modified, you can find a general tutorial here.  I made this one using coordinating papers and ribbons.


The embellishments match those on the belly band of the card and I scored lines in the flowers to match the others.  Here is a closer view...


I hope you enjoyed my project for today!  I have lots more projects to share, so please join me again soon.   

Merilee


Monday, September 19, 2011

September Card Making Class

Hi everybody!  I'm finally back again and I've got so much to share with you!

My summer was wonderful.  I was able to spend so much time with my grandchildren, my daughter and son-in-law, and my husband.  We even found a little extra time to take a short vacation with my brother and sister-in-law to visit Seattle, Vancouver, B.C. and Victoria, B.C.!  It was wonderful and we really enjoyed ourselves.

Now that I'm back to blogging, I have so many projects to post that were made during my absence.  I will probably make more than one post each day to try to catch up.  Thanks for being patient with me!

Now on to my post for the day.  I recently held my September card making class and wanted to post the cards that were made during class.  I couldn't have been happier with the results, and my students, Stephani and Susan, really showed their talent in these adorable cards!

First of all, the idea for these cards was inspired by Glora's Crafts at glorascrafts.blogspot.com.  Although my design is slightly different than Glora's, you can see a tutorial on how to make these cards by following this link:  http://glorascrafts.blogspot.com/search/label/CC%3A%20Wild%20Card.  Just as Glora did, we used the pinwheel card base on the Wild Card Cricut Cartridge.  We also used the Paper Doll Dress Up Cartridge for the characters and Peachy Keen Stamps for the faces.  They really are the cutest faces ever!

The cards were surprisingly easy to make and oh so cute!  Below are photos of the finished cards.  I've included several photos to show you, since each card has four different faces as you turn the dial.  Enjoy!

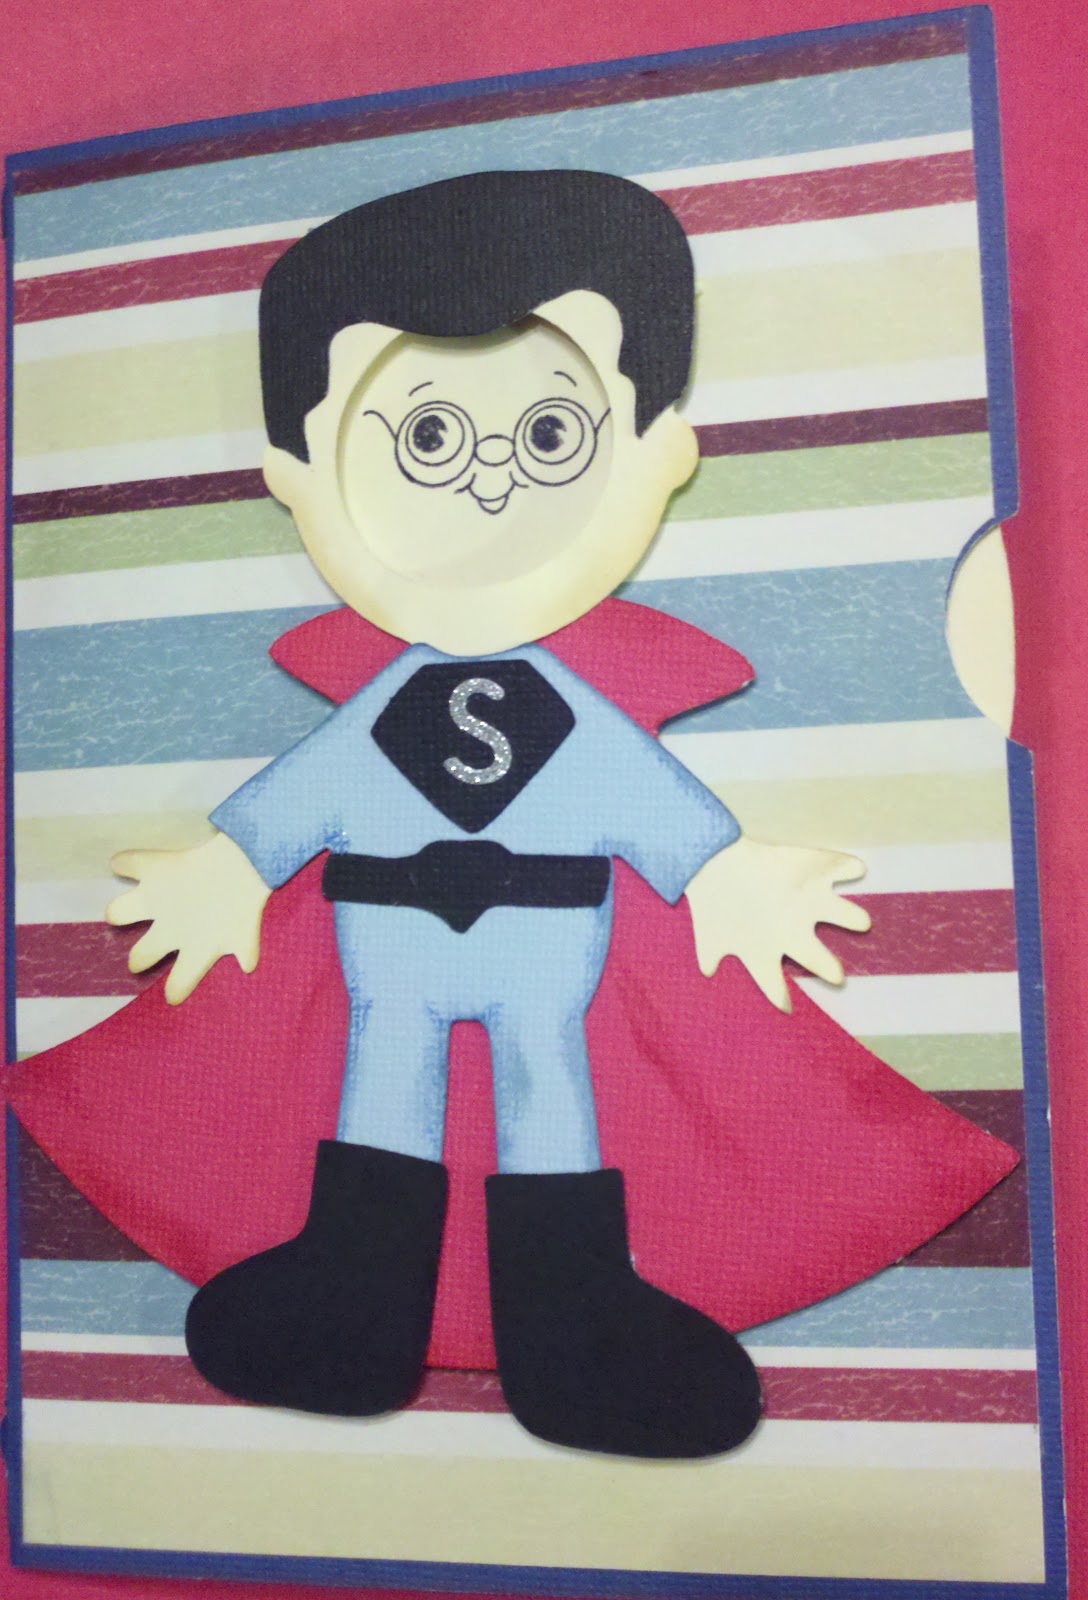
First is Susan's card featuring Superman!  Isn't he adorable?!?


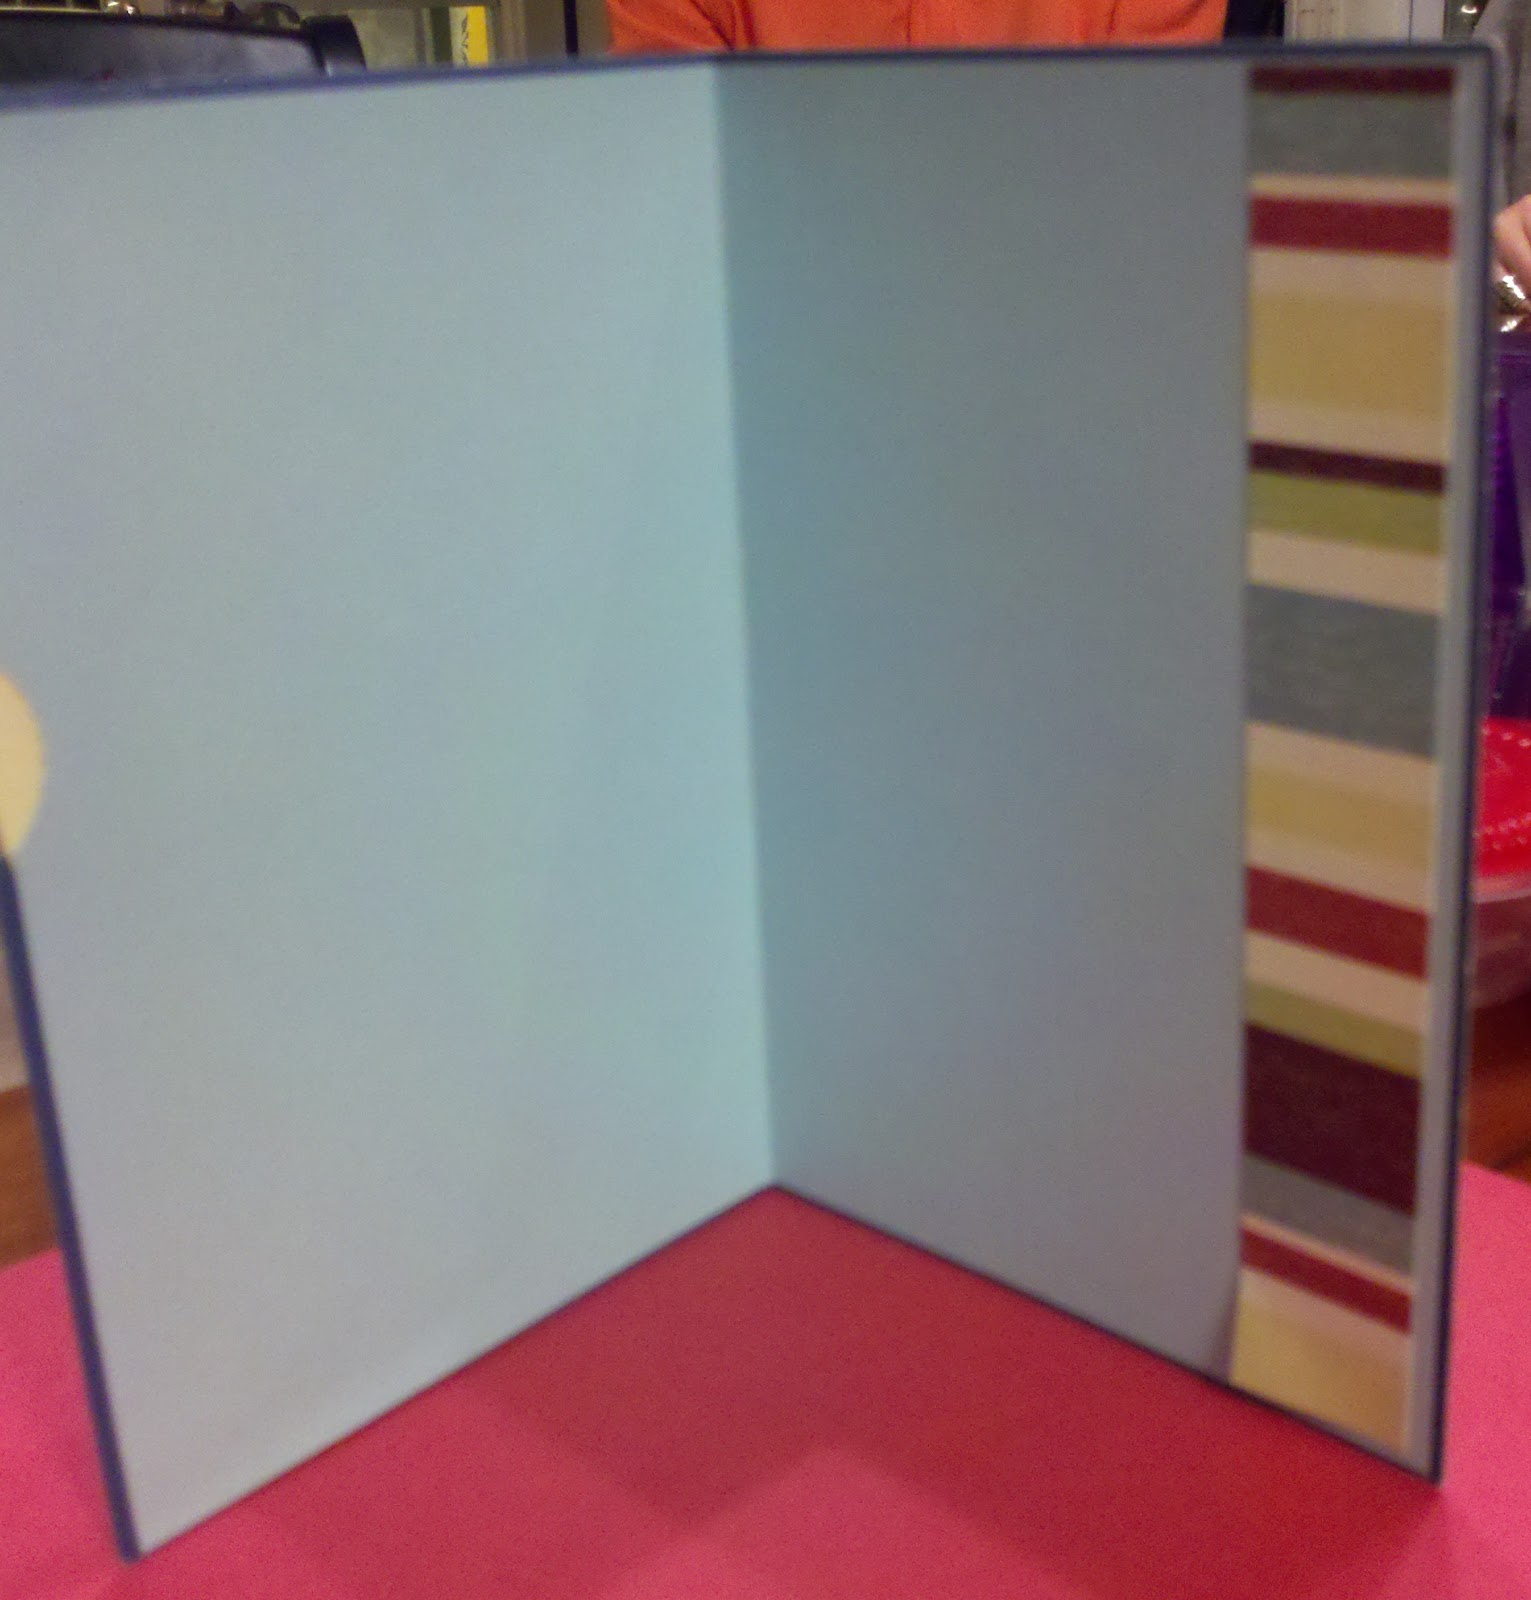
Susan created this Superman card using patterned papers from the Family Page Kit by Colorbok, and solid papers from the Textured Cardstock-Brights collection by The Paper Studio.  The sparkly "S" Susan chose from the Mini Shimmer Alpha sticker collection by Making Memories.  Susan lined the inside of her card with the same light blue used for Superman's costume and added a strip of patterned paper to finish it off.

Next up, Frankenstein!


We thought Frankenstein turned out adorable!  Stephani chose patterned papers from the Fostering Creativity Biggie Bundle by Karen Foster.  She also flocked his little orange patch, as well as featured a Clear Charm from Tim Holtz Ideology Fragments, with a jack-o-lantern cropped from the patterned paper. Stephani glued it to the backside with the Zyron Create-A-Sticker.


As you can see, both ladies popped up their little characters using foam tape in order to offset the character from the brad underneath, which holds the spinning wheel to the underside of the card.  The foam tape lifted the character from the card base just enough to keep it from having a lump where the brad was placed.  It also gave the card just the right amount of dimension.

Well, that's it for today!  Thank you for visiting my blog!

Merilee

Recipe:

Papers:  Family Page Kit by Colorbok; Textured Cardstock-Brights collection by The Paper Studio; Fostering Creativity Biggie Bundle by Karen Foster
Cricut Cartridges:  Wild Card, Pinwheel-Pg. 51; Paper Doll Dress Up, Body-Pg. 29, Superboy-Pg. 56, Frankenson-Pg. 52; Plantin SchoolBook, Circle-Pg. 72

Stamps:  Fun Kiddie Face Assortment and Critter Faces Set A-Medium, both by Peachy Keen Stamps
Ink:  Craft Smart Dye Based-Black; StazOn-Jet Black; Martha Stewart Create Pigment Ink-Aquarium; Tim Holtz Distress Ink-Old Paper, Fired Brick, Stormy Sky
Glue:  Xyron Create a Sticker "X" and 5"; Foam Tape by 3M; Be Creative Tape-3mm; Zig 2-Way Glue
Other:  Kimberly Watercolor Pencils by General's;  Tim Holtz Ideology Fragments-Clear Charms; Michael's Dollar Bin-Flocking; Mini Shimmer Alpha sticker collection by Making Memories

Monday, June 20, 2011

Vintage 50th Birthday Card

Hi Everyone!  Today's vintage 50th birthday card was so much fun to make!


This card is both a card and an envelope all in one.  I chose this card style because it was reminiscent of the old photo albums in which my parents used to receive their photos after developing.  I couldn't resist its retro feel, which was in my mind when I began this process.


The card was cut using my Cricut Expression and my trusty Wild Card cartridge (Scallop-page 32).  It isn't really meant to be a card and envelope all in one since it is featured in the manual with a matching envelope, but I loved it just the way it was!  I printed it in yellow cardstock, inked the edges with Tim Holtz/Ranger Ink in Fired Brick, and then covered select areas with these darling papers from Cosmo Cricket's Double Deck - Material Girl and Garden Variety.  I just love, love, love these papers!


To close the card, I used my Crop a Dile to punch two holes and set my eyelets.  I then ran the red satin ribbon through the eyelets and slipped on the tiny tag that I cut using my tag die plate and Crop a Dile III Main Squeeze.  I inked the edges and then I made my own dimensional numbers with my Cricut and my bottle of Glossy Accents (I just love that stuff!).  Once I finished, I decided to attach pretty daisies to the ribbon ends to keep the ribbon from slipping out and from fraying.  I punched four of the daisies with my daisy punch, ran them through my Xyron machine, and attached them back-to-back with the ribbon sandwiched in between.  I added flower centers on both sides from my stash of colored dimensional epoxy stickers.  Didn't they turn out so cute?!?  


(I also used the dimensional epoxy stickers in the centers of the flowers on the designer paper.)


For the feature on the middle panel inside, I cut a darling image from the Crafty Secrets Heartwarming Vintage Collection of Creative Scraps.  It was a great freebie when I ordered stamps from the same collection!  :o)  It so reminded me of my Mom, Aunts and Grandmother.  


I chose a coordinating paper from my Double Deck and lined the inside panels.  Then I chose a bright yellow cardstock for the feature panel and typeset a sentiment in my word processing program.  I printed the sentiment in green and then added pretty gem brads to adorn the upper corners with a little added bling.  After inking the edges, the image was matted on another coordinating cardstock from the Double Deck.  However, before mounting the image (and so my stems didn't stick out the back of the card) I added little green flower brads in each corner and then mounted the image under my sentiment inside the card.


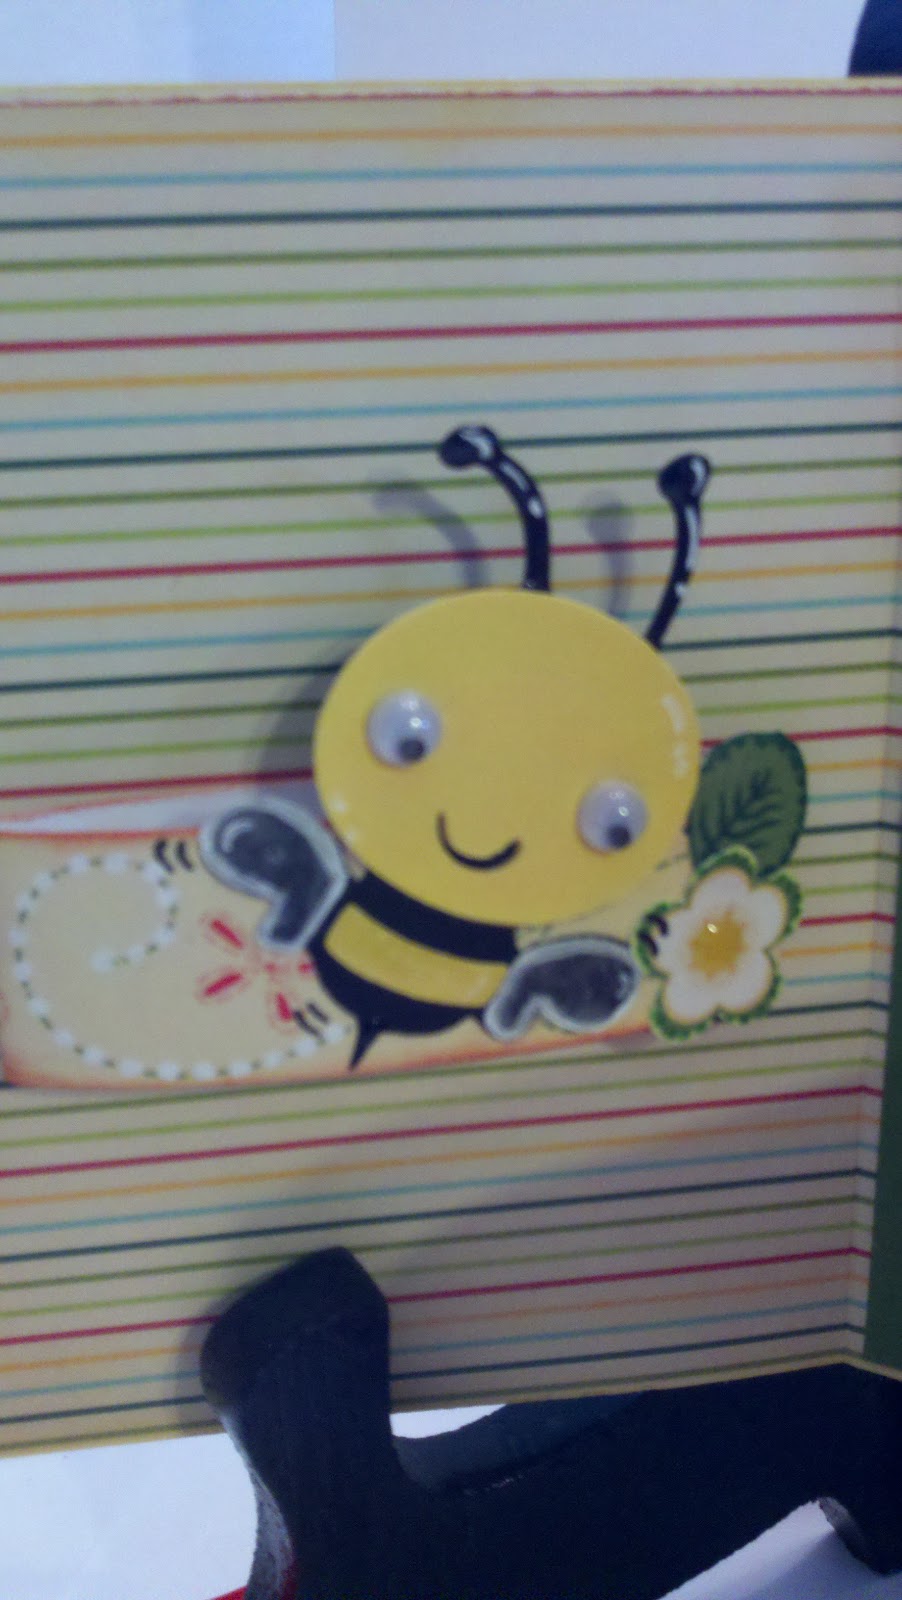
I decided to add a gift card to the inside left panel, so estimated the size I'd need and I cut a strip of cardstock wide enough to accommodate my folder.  I then folded it in thirds and, with the open ends in the back, I adhered it to the card. To adorn the band, I took my cues from the darling cardstock I've been using and cut a bumble bee image with my Cricut using the really cute Create a Critter cartridge.  I used my white gel pen to detail the little bumble bee, filled in his wings with Glossy Accents, added tiny wiggle eyes from my stash, and attached him to the band.  I then cut a flower and leaf from the designer paper and added it to the band, as well.


I cut a small folder with my Cricut from my Tags, Bags, Boxes and More cartridge and rounded the corners using my Crop a Dile Corner Chomper.  Then I inked the edges.  Once again I cut some strawberries, flowers and leaves from the designer paper to adorn the outside and used my markers and Glossy Accents to add dimension.  (It would have been cute to use my Cricut to cut the fruit and flowers, too.)  The flower centers are accented with dimensional epoxy stickers.  


For the inside flap I used the same yellow cardstock as above, inking the edges and stamping "Happy Birthday" using Fired Brick Ranger ink.  The sentiment is from a darling stamp set from Crafty Secrets' Clear Art Stamps, the Heartwarming Vintage Collection.  I also added another strawberry cut from the designer paper and a couple more leaves.


Once inside the folder you can see the cute papers which inspired the strawberry and bumble bee motifs!  Isn't this the cutest paper ever?!?


I like lots of interaction, so I made yet another band inside to hold a small envelope.  The band was made in the same way as before and decorated with more cut images from the designer paper.  The envelope was cut from printed vellum using my Cricut and the Tags, Bags, Boxes and More cartridge.  I rounded the edges to match the folder and inked them with the same color Ranger ink.


This project was so much fun and I really enjoyed giving to my sister-in-law!  :o)


Thanks for stopping by and have a great day!  :o)

Merilee

Recipe Ingredients: Papers:  Cosmo Cricket Double Deck-Material Girl and Garden Variety; The Paper Studio-Textured Cardstock; Printed Vellum
Designer Image:  Crafty Secrets Creative Scraps-Heartwarming Vintage
Embellishments:  Dimensional Epoxy Stickers-Recollections; Red Satin Ribbon-Offray
Stamps:  Happy Birthday Sentiment-Clear Art Stamps, Crafty Secrets-Heartwarming Vintage Collection
Ink:  Ranger/Tim Holtz Distress Ink-Fired Brick
Tools:  Cricut Expression; Cricut Cartridges-Wild Card (Scallop, Pg. 32), Create a Critter (Bee, Pg. 68), Tags, Bags, Boxes and More; Crop-A-Dile Corner Chomper; Crop-A-Dile II; Crop-A-Dile III Main Squeeze (Die Plate Tag); The Paper Studio Flower Punch; Xyron Sticker Maker