Wednesday, April 18, 2012

Week One Post Surgery

Hi Everyone!  Today I'm officially one week out from surgery and doing great! I'm wearing a lovely black sling on my right arm that sports an even lovelier waste band to go along with it.

So far I have already had two physical therapy sessions and another one on Friday.  I've got my one week appointment with the surgeon tomorrow.  Hopefully he'll remove my stitches--they are really uncomfortable!

I am happy to report that the recovery process is going so much better than I anticipated and I expect to be back to normal soon.

I'll be back again next week to post another update.  In the meantime, I hope you are all creating away!  Thanks for bearing with me this long.

Have a great day,
Merilee

Monday, April 9, 2012

Upcoming Surgery

Happy Monday Everyone!  I hope your day is going great!

I'm writing to you today to let you know that I won't be able to post any new projects for awhile.  It seems I have torn the cartilage in my shoulder in two different places and I'm going in on Wednesday for surgery.  Of course, this tear is in my right arm and I'm right handed--could it be any other way???   ;o}

The doctor has informed me that I will be unable to move my arm away from my body for six weeks while the cartilage grows back to the bone. I promise to get right back to my creativity as soon as I can.  In the meantime, I will post now and again to let you know the status of my progress.  I will also be following each of you as you post new projects to your blogs.

Have a great day and I'll chat with you again after surgery.  Wish me luck!

Merilee

Wednesday, April 4, 2012

Celebrate Earth Day at CCI Blog!

Hello my friends!  Today we're celebrating Earth Day over at the Creative Critterz Imaginations blog and I have posted an Earth Day card made from recycled, reused and repurposed items.
If you'd like to get a better look at my project, head on over to see what's new.  I can't wait to share my project with you!  You can get there by clicking here.

Thanks for stopping by and I hope to see you again soon.
Merilee

Sunday, April 1, 2012

Birthday Card

Hi Everyone!  Happy Sunday!

As promised, today's post is a birthday card featuring my little "Puppy Girl" from the Pure Innocence line by My Favorite Things that I colored various different ways in the last couple of posts.
This card is bright and cheery for a young girl's birthday.  The papers I used are from Mambi Sheets by Me & My Big Ideas and Rue de Fleur by The Paper Studio.  I love these colors together--they just have that extra kick of life in them!  :o)  The background is matted and stitched with my sewing machine.  Across the center is pleated trim, layered with two strips of ribbon and then adhered to the orange card base with my ATG gun.
Here is a closeup of Puppy Girl.  I cropped her using Spellbinders Large Labels S4-168.  The edges are first inked in yellow and then again in pale green.  She is matted first in black to draw the eye in and then in green and yellow.


I always try to incorporate some type of interaction in each of my cards--especially when they are for younger people.  The image is popped up on foam tape with the tape strategically placed only on the top and bottom so a tag would slip diagonally beneath.

The tag is hand cut to fit inside the opening, stamped with two sentiments, and adorned at the top with patterned paper, a tiny flower brad, and a ribbon threaded through.  The tag sentiment is actually from two separate sentiment sets that I put together to form a rhyme:  Top-Clear Stamps VS-4911, Series 23, by Studio G; Bottom-Big Greetings by My Favorite Things.

The final addition is two large, stacked silk daisies topped with a large, yellow button in the center.

For the inside of the card, the background patterned paper is matted and stitched together.  Then a hole punched in one corner to add stacked paper flowers with a tiny flower brad through the center and a bow on back.  The finished mat stack is then adhered to the inside of the card with my ATG gun.

The inside has a mix of stamp sets, as well.  "Woof", "Bark", the puppy paw prints, and the dog bone are all from Inkadinkado, Dogs-97620; "Happy Birthday" is from Big Greetings by My Favorite Things; and "Sending Canine Kisses" is one of the sentiments that goes along with "Puppy Girl" from the Pure Innocence line by My Favorite Things.  I think they all come together quite nicely to make up a happy little card.
 I hope you've enjoyed today's card and you'll be back soon to visit me again.  I will be designing something special in the upcoming days for the Creative Critterz Imaginations blog.  I hope you'll join me.  Until then, thanks for coming by!

Merilee


Saturday, March 31, 2012

More Coloring Fun!

Hi Everyone!  This is my second post for the day.  I promised to share my card with you, but first I wanted to show you the creative process of reproducing a similar little girl to the one I did on the back of my desk pad calendar.
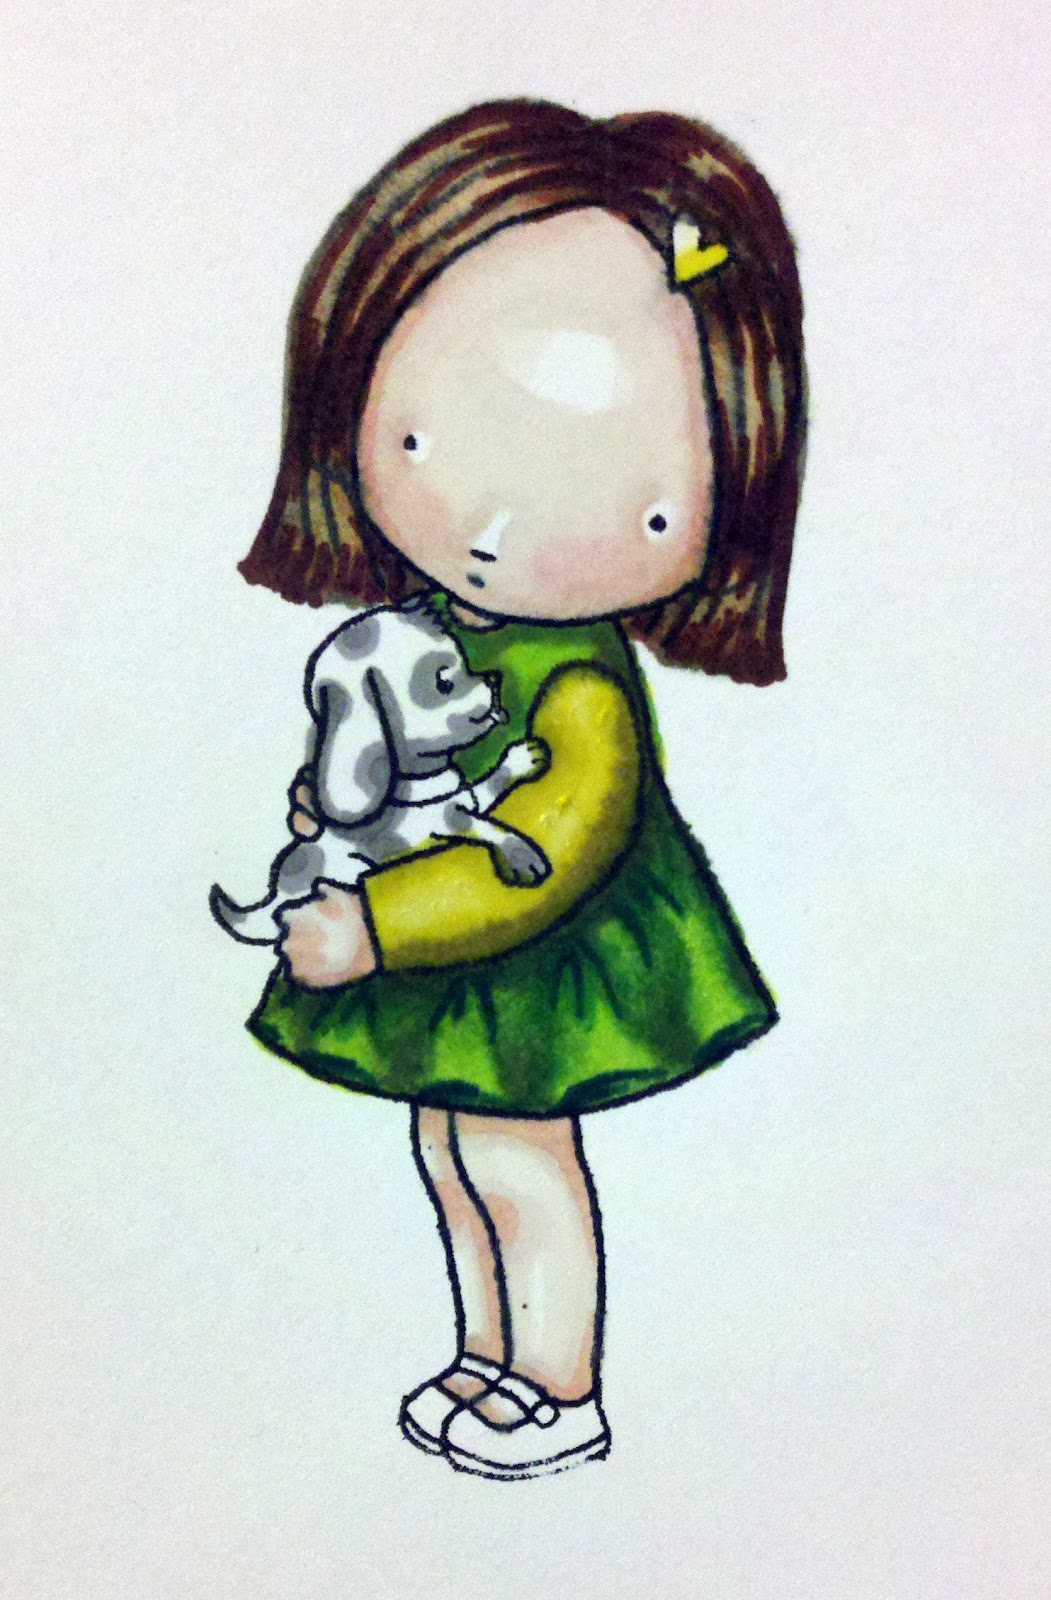
Here is my finished little girl.  In case you are viewing these posts backwards, the stamped image is entitled "Puppy Girl" from the Pure Innocence line by My Favorite Things.  I love this entire line, but this little girl and her puppy-dog are adorable, don't you think?


Here are the girls, side by side.  You can see that I tried my best to duplicate the dress and hair, although they are slightly different.  Just for fun I changed the colors in the puppy-dog the second time around.  I thought a gray and white spotted little dog would look adorable with her green dress.

Now here is my coloring process.  It should be pretty self-explanatory, so I won't bore you with a lot of narration.


Slowly coming to life...


And it's a little harder to see the changes...


And here is a closeup of the final colored image.

I will post the entire card tomorrow.

Thanks for visiting!

Merilee


Stamp Coloring Doodling...

Hey everyone!  Today I have some doodling I'd like to share.  I used the darling stamp entitled "Puppy Girl" from the Pure Innocence line by My Favorite Things, my Letraset alcohol markers, and my fine tip Sharpie markers for this project.
Now, just as a reminder, I am by no means a professional when it comes to coloring stamped images.  I am strictly a student, teaching myself as I go along.  This post is merely to share some doodling I did the other day.  I didn't want to waste my good cardstock, so I decided to try some different techniques I had been mulling over in my head on the backside of my desk pad calendar.
I had this idea to create a shadow behind the image.  I went a little crazy with this shadow--to say it is over-sized is an understatement, but it was fun to exaggerate the shadow in order to hone in on some shadowing detail work.
Besides creating "motion" in the puppy's tail, I also took a little creative license in shading her dress.  I wanted it to be a slightly full skirt with gathers at the waste.  I used several different colors in order get this effect, beginning with pale yellow and ending with dark green.  When I was happy with the result, I used my fine tip Sharpie markers to define each gather at the waste and to define the way the skirt fell at the hem.

Taking particular delight in defining clothing details comes from being a lifelong, self-taught seamstress.  For years I have enjoyed creating and sewing for my daughter and other friends and family.  I have always had fun designing my own gowns.  Again, I am no professional--I have only ever sewn for pleasure (and out of necessity to save money on expensive gowns for various school dances).  Now that my daughter is grown, my clothing design is mostly limited to drawing.  ;o}
In looking at this little girl, I decided that I really liked the way she turned out and wanted to use her on a card.  However, it was easy to see the calendar numbers through the paper, not to mention the fact that the shadow made the image very wide, so I ended up recreating her without the large shadow in order to crop her and use her on a card.  That will be in a future post.

For comparison purposes, I have included some photos of other images I have recently colored.  You can see that I have played around with many of the shading/highlighting in the various places in each image.  And Puppy Girl needs a variety of clothes, don't you agree?!?  I suppose there is no right or wrong way to color--it's all in the way you want it to be, right?


I hope you enjoyed my doodling.  If any of you have any coloring and/or stamping tips or tricks, please let me know.  I am relatively new to all of this and I can use all the help I can get.  :o}

Thanks for stopping by today and I look forward to seeing you again soon!

Merilee

Tuesday, March 27, 2012

Pet Sympathy Card/Mini Book

     Happy Wednesday Everyone!  Today I'm featuring a pet sympathy card/mini book.
     My brother and sister-in-law recently lost their darling little Miniature Pinscher, Buddy.   He was the cutest, sweetest little fella ever and he is sorely missed by us all.   
             Pure Innocence Puppy Girl  Clearly Sentimental about Pets
     After I heard of Buddy's passing, I happened to be searching the net and came across this cute little stamp set, Puppy Girl, from the Pure Innocence line by My Favorite Things.  I thought it was the perfect image for this card. MFT also has another sentiment set, Clearly Sentimental About Pets, dedicated to our furry friends, so I bought them both and set out to make this special card in memory of little Buddy.
     As you can see from the stamp set above, this little girl did not originally have a pleated skirt, but something just seemed to be missing, so I drew one in with my Letraset markers.  I also colored two others below, each one with a different skirt:
     For the first one, I stamped her and colored her in.  I then stamped the image again on patterned paper, fussy cut her skirt, and glued it over my colored image.  As in the little girl featured on today's card, the second little girl has pleats, too, but her pleats are a bit wider.  You'll see these little girls and their pups featured in future cards--they are not quite finished.  
     As I'm sure you can see, I am by no means a professional--I am just learning to use my Letraset alcohol markers, so please forgive my mistakes.  I have watched lots of online tutorials on how to blend and color with alcohol markers and I am having so much fun!  I always loved to color as a child and I find it very relaxing to color as an adult.  Once I was satisfied with my coloring, I went back in with my fine tip Sharpie markers to further define, add depth, as well as to add fine detail.
     This card has lots of dimensional detail. The lavender Swiss dot background pattern is from The Classics by The Paper Studio.  All additional patterns featured are from K&Company, Abrianna. There are several layers matted and sewn together with my sewing machine.  Each layer picks up another color from the main background pattern.  Once sewn, they are adhered to the card base with my ATG gun.  
     After coloring my little girl, I used the Large Nestabilities Labels Die Set, S4 168, along with my Big Kick, to cut her out.  She is layered over yellow and lavender, set atop white cardstock punched with the Starburst punch set from Martha Stewart and accented with tiny flower brads in each corner.  The entire image is sewn, popped up on foam tape and set aside for later.
     One thing I'd like to mention about coloring stamped images:  In the past I have stamped on regular cardstock with Stazon Ink and have experienced problems with my outlined image bleeding.  After doing a little detective work, I found that other stampers use cardstock made specifically for alcohol markers.  I ordered some of this cardstock and it made all the difference.  However, I apologize--I must have thrown away the packaging and I do not remember the brand or product name...my bad.  :o}  I will find out more information and include it in a future post.
     The center strip is cut from four layers of cardstock and then set atop a punched border by Martha Stewart. After sewing through the layers, I then added the satin, pleated ribbon from Stampin Up.  A thin lavender ribbon is centered over top and adhered from behind.  The finished strip is adhered to the card base with my ATG gun, over which the colored Puppy Girl image is layered and, finally, the bow and silk flower embellishments are placed with glue dots.
     For the inside of the card, I had a certain poem in mind that I hoped might help to set my brother and sister-in-law's minds at ease, as well as let them know they are loved.  The poem is entitled "The Rainbow Bridge" (author unknown) and is inspired by Norse legend.  
     The poem is a bit long and wouldn't fit inside my card, so I decided to split it up into three, 2-paragraph sections and spread it out over three card pages...thus the "mini book".  It was quite simple to add another page inside my card by adhering white copy paper cut to the size of two pages.  I placed the paper over the inside flap of the card and, at the center fold I butt the second page up against the corner and continued adhering the paper across. I then did the same thing on the other side of the page and along the back flap of the card.  Once folded together, it creates the hinge for the middle page.  I'm sorry I didn't take photos of this process.  If you'd like to see my method for this, please let me know and I will do a photo tutorial in a future post.


Here are closeups of each page.  As you can see, the poem is printed on patterned paper using my word processing program, cut to size, and matted and sewn just like the front of the card. 


After sewing the mats, I then adhered them to the card base with my ATG gun.


I've included closeups of each of the pages so you can see the details and, hopefully, read the poem.  It's a pretty little poem that I heard when I first began volunteering for a local dog rescue.  I have always loved it and thought it might be comforting for my brother and his family during this time.
     This is the last page of the card.  I matted the background as I did on all of the other pages, and took cues from the card front for the strip down the middle.
     The sentiment is from Clearly Sentimental About Pets by MFT and is matted and adhered over foam tape.  So sweet...
     I hope you have enjoyed my pet sympathy card/mini book.  If it brings a little peace to my family after losing their beloved little Buddy, it will have all been worthwhile.
     Have a wonderful day and I will see you again soon!


Merilee